

How To Draw A Realistic Chicken Step By Step
There are over 24 billion chickens in the world. Not only do chickens outnumber people more than 3 to 1, but there are more chickens than any other kind of bird in the world. Isn't it incredible?
It's difficult to imagine our culture without this widespread domestic bird; it became a symbol that's deeply embedded in mythology, including the Chinese Zodiac.
Let's define the terms: male chickens are called roosters, female chickens are hens, and babies are chicks. In this tutorial, we'll observe their distinctive features from a drawing standpoint.
We'll also learn some interesting facts about them along the way!
You may be interested in these drawing tutorials as well:
What You Will Need
In order to complete this project, you'll need the following equipment:
- an HB graphite pencil
- a 3B graphite pencil
- an eraser
- drawing paper


1. How to Draw a Rooster
Step 1
In this part of the tutorial, we'll be working on a sketch of an adult male chicken and exploring its outward difference from an adult female—a hen.
The ancient Greeks believed that even lions were afraid of roosters, as evidenced by several of Aesop's Fables. The rooster is also one of the signs of the Chinese zodiac; it is associated with loyalty and keen observation.
With the HB pencil, I start with the rough shape of the head, and then add the beak. Be sure to leave enough space for the rest of the bird on the sheet of paper!


I add the shapes for the comb and wattle to the bird's head.


Step 2
I add a rough trapezium-like shape for the bird's neck.


I add the shape of the rooster's body.


Step 3
A rooster has a large tail that consists of long feathers; I mark the area where it should be located and the direction of feathers.


Step 4
Let's draw the bird's feet. I outline the fluffy thighs first.


Then I add the remaining parts of the feet (the shanks), using lines and small circles to mark the joints.
Our rooster has three main toes (they are longer) and one small back toe.


Step 5
I refine the head of the bird, adding the significant details: the eye, the ear (at the side of the head), and the earlobe just near it. Then I define the points of the comb.
By the way, chickens have full-color vision, just like we do! Also, they can distinguish more than 100 'faces' of members of their species.


Step 6
I refine the contours of the bird's body, making it stouter. Feel free to erase the unnecessary pencil lines as you go.


Step 7
I draw the feet, based on the framework. The rooster should have spurs at the back of the feet and claws at the tips of the toes.


Step 8
I add the wing, also marking the contour of the long feathers that are hanging down (they are called saddle feathers).


Step 9
It's time to refine the tail of the rooster. Actually, the feathers of different parts of a chicken's body have different names; for example, the long, curling, showy feathers of the rooster's tail are called sickles.
I draw the feathers that are closer to the body.


I add the curling sickles; don't be afraid to make them long and opulent.


Step 10
With light pencil lines, I mark the feathers on the rooster's body. The long, thin feathers around the neck are called hackles.


Step 11
With the HB graphite pencil, I apply some graphite hatching to the drawing, paying particular attention to the head, wing, and tail details.
The shanks have a subtle relief and may be slightly fluted, so I emphasize this feature.


Step 12
I increase the contrast, using the softer 3B pencil. The sketch is complete!


Step 13
You may ask, what is the difference in the appearance between a rooster and a hen? Let's look into it.
A hen has a seemingly heavier body. The feet are shorter, and the tail can't boast of long, showy feathers—the hen's feathers are short and mainly straight. The comb is smaller, too.
The image shows the general proportions of an adult female chicken. We won't be repeating the whole drawing process all over again because it's very similar to sketching our rooster—so just grasp the main features of the hen's appearance.


Step 14
The feathering of a hen usually creates a smoother, softer impression. It's important to accentuate the hackles—they create a variety in covering.
All chickens have buds on their legs from which spurs can grow. In most hens, they remain latent, but sometimes they become long and prominent.


Step 15
The pattern of the plumage varies from breed to breed. Alternating darker and lighter spots is a sure option to achieve a credible look!


2. How to Draw a Chick
Step 1
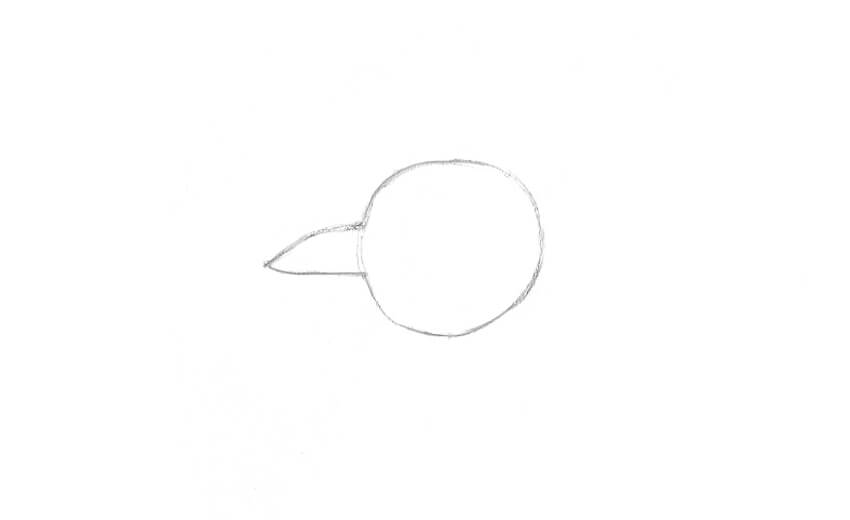
We are already familiar with adult chickens, so it's time to draw a baby chicken. I start with the head, adding the shapes of the eye and the small beak right away.
By the way, mother hens talk to their unborn babies, and they answer through their shells. Isn't it adorable?


Step 2
I add the rough shape of the chicken's body; it is quite small compared to the head. The neck is very short, barely visible.


Step 3
I draw the contour of the chicken's small wing.


Step 4
I add the framework of the short feet.

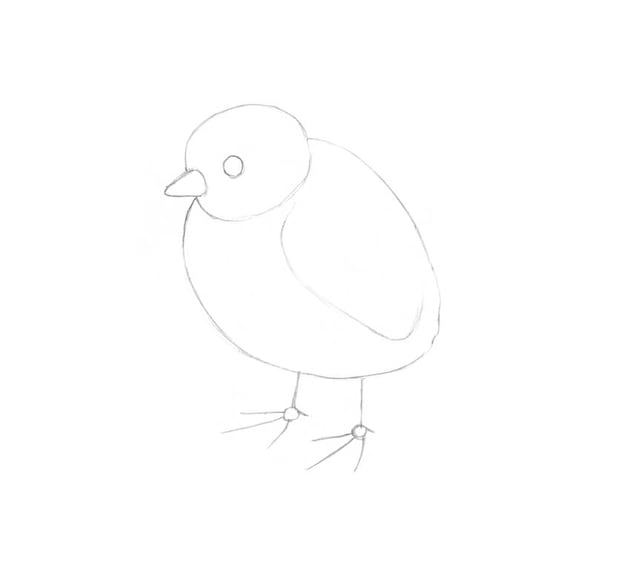

Step 5
I refine the eye (let's make it big and cute!) and the beak. This chicken is very young, so it doesn't have the prominent head details that the adult birds have.


Step 6
I refine the feet. From a structural standpoint, they are quite similar to the feet of an adult bird, but they look exaggerated because a baby chicken is small and doesn't have all the thick, voluminous feathering.


Step 7
I soften the contours of the chicken's body with an eraser and create an illusion of fluffy plumage, using long pencil lines.


Step 8
I add some hatching to the drawing, using the HB graphite pencil. The lines imitate the fluffy covering of the chick's body.


Step 9
With the 3B pencil, I increase the contrast, accentuating the head and the bottom part of the body. A drop shadow is a finishing touch that makes the drawing more credible.


Your Drawings Are Complete
Congratulations! You've created beautiful drawings of a wonderful chicken family. I hope you've enjoyed the process.
May your further creative journey be fruitful and full of joy!


How To Draw A Realistic Chicken Step By Step
Source: https://design.tutsplus.com/tutorials/how-to-draw-a-chicken-and-a-rooster--cms-31264
Posted by: charettebegather1962.blogspot.com
0 Response to "How To Draw A Realistic Chicken Step By Step"
Post a Comment